2025 Calendar on Excel: A Comprehensive Guide
Related Articles: 2025 Calendar on Excel: A Comprehensive Guide
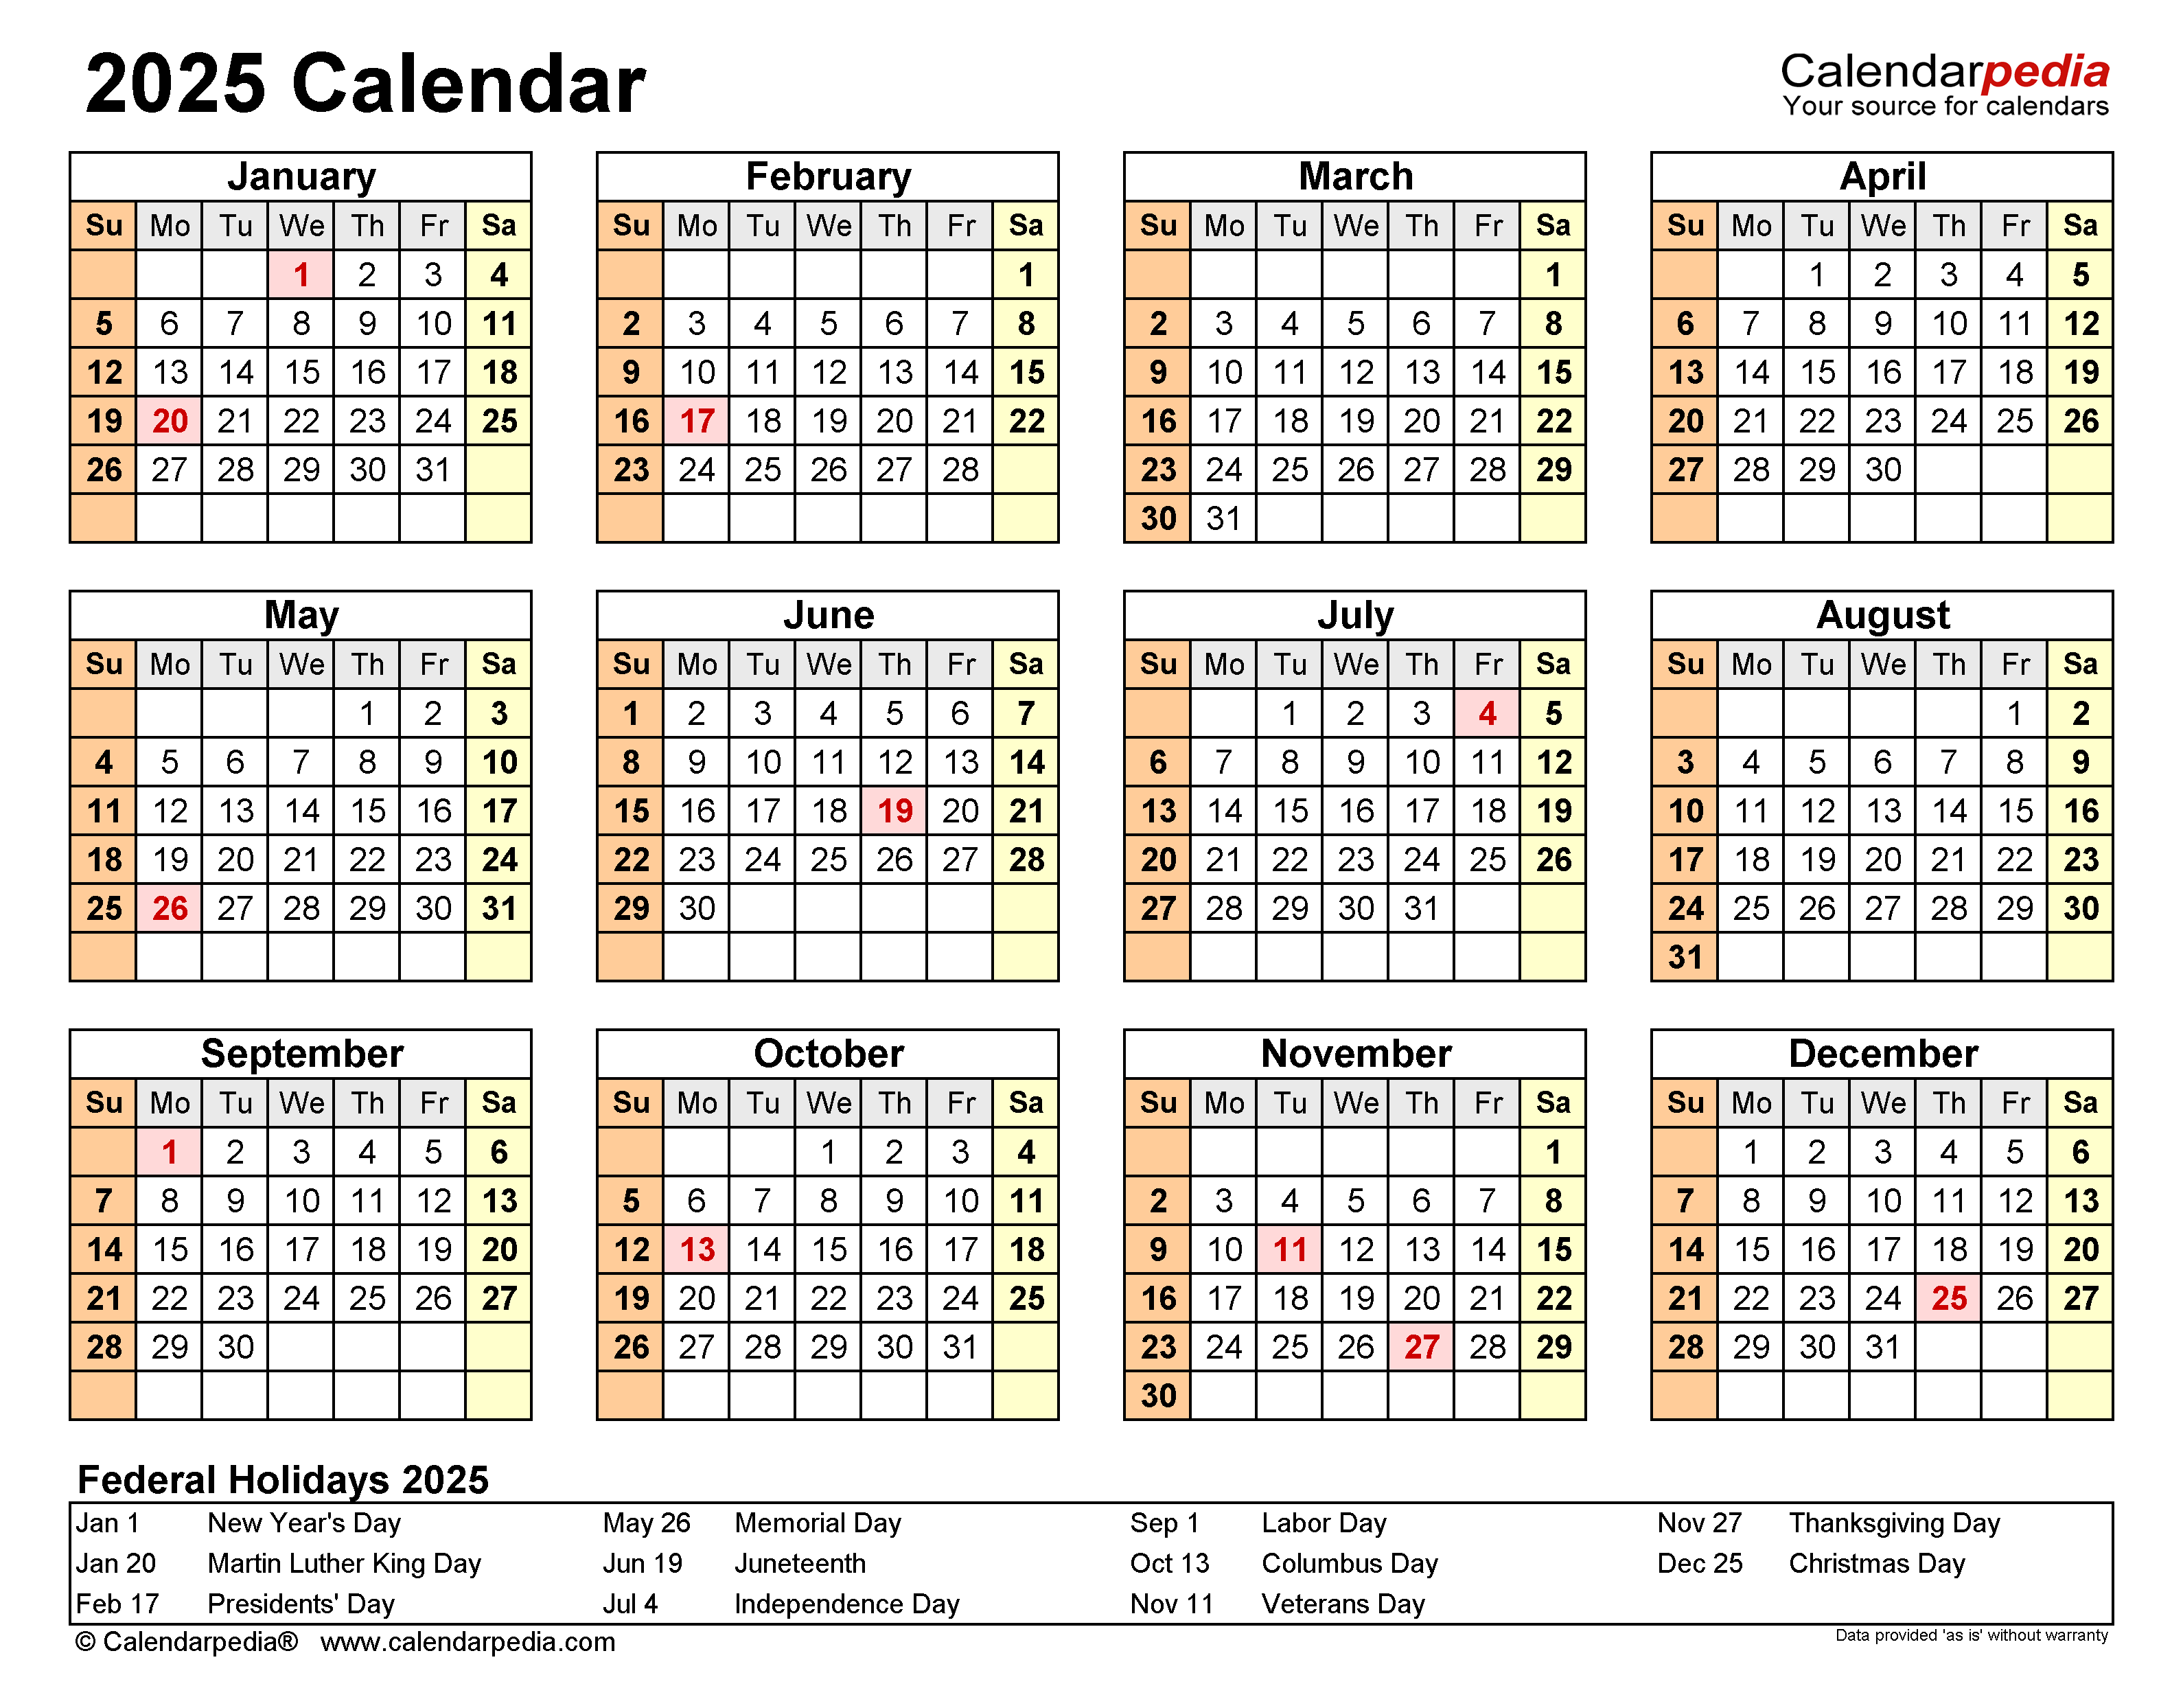
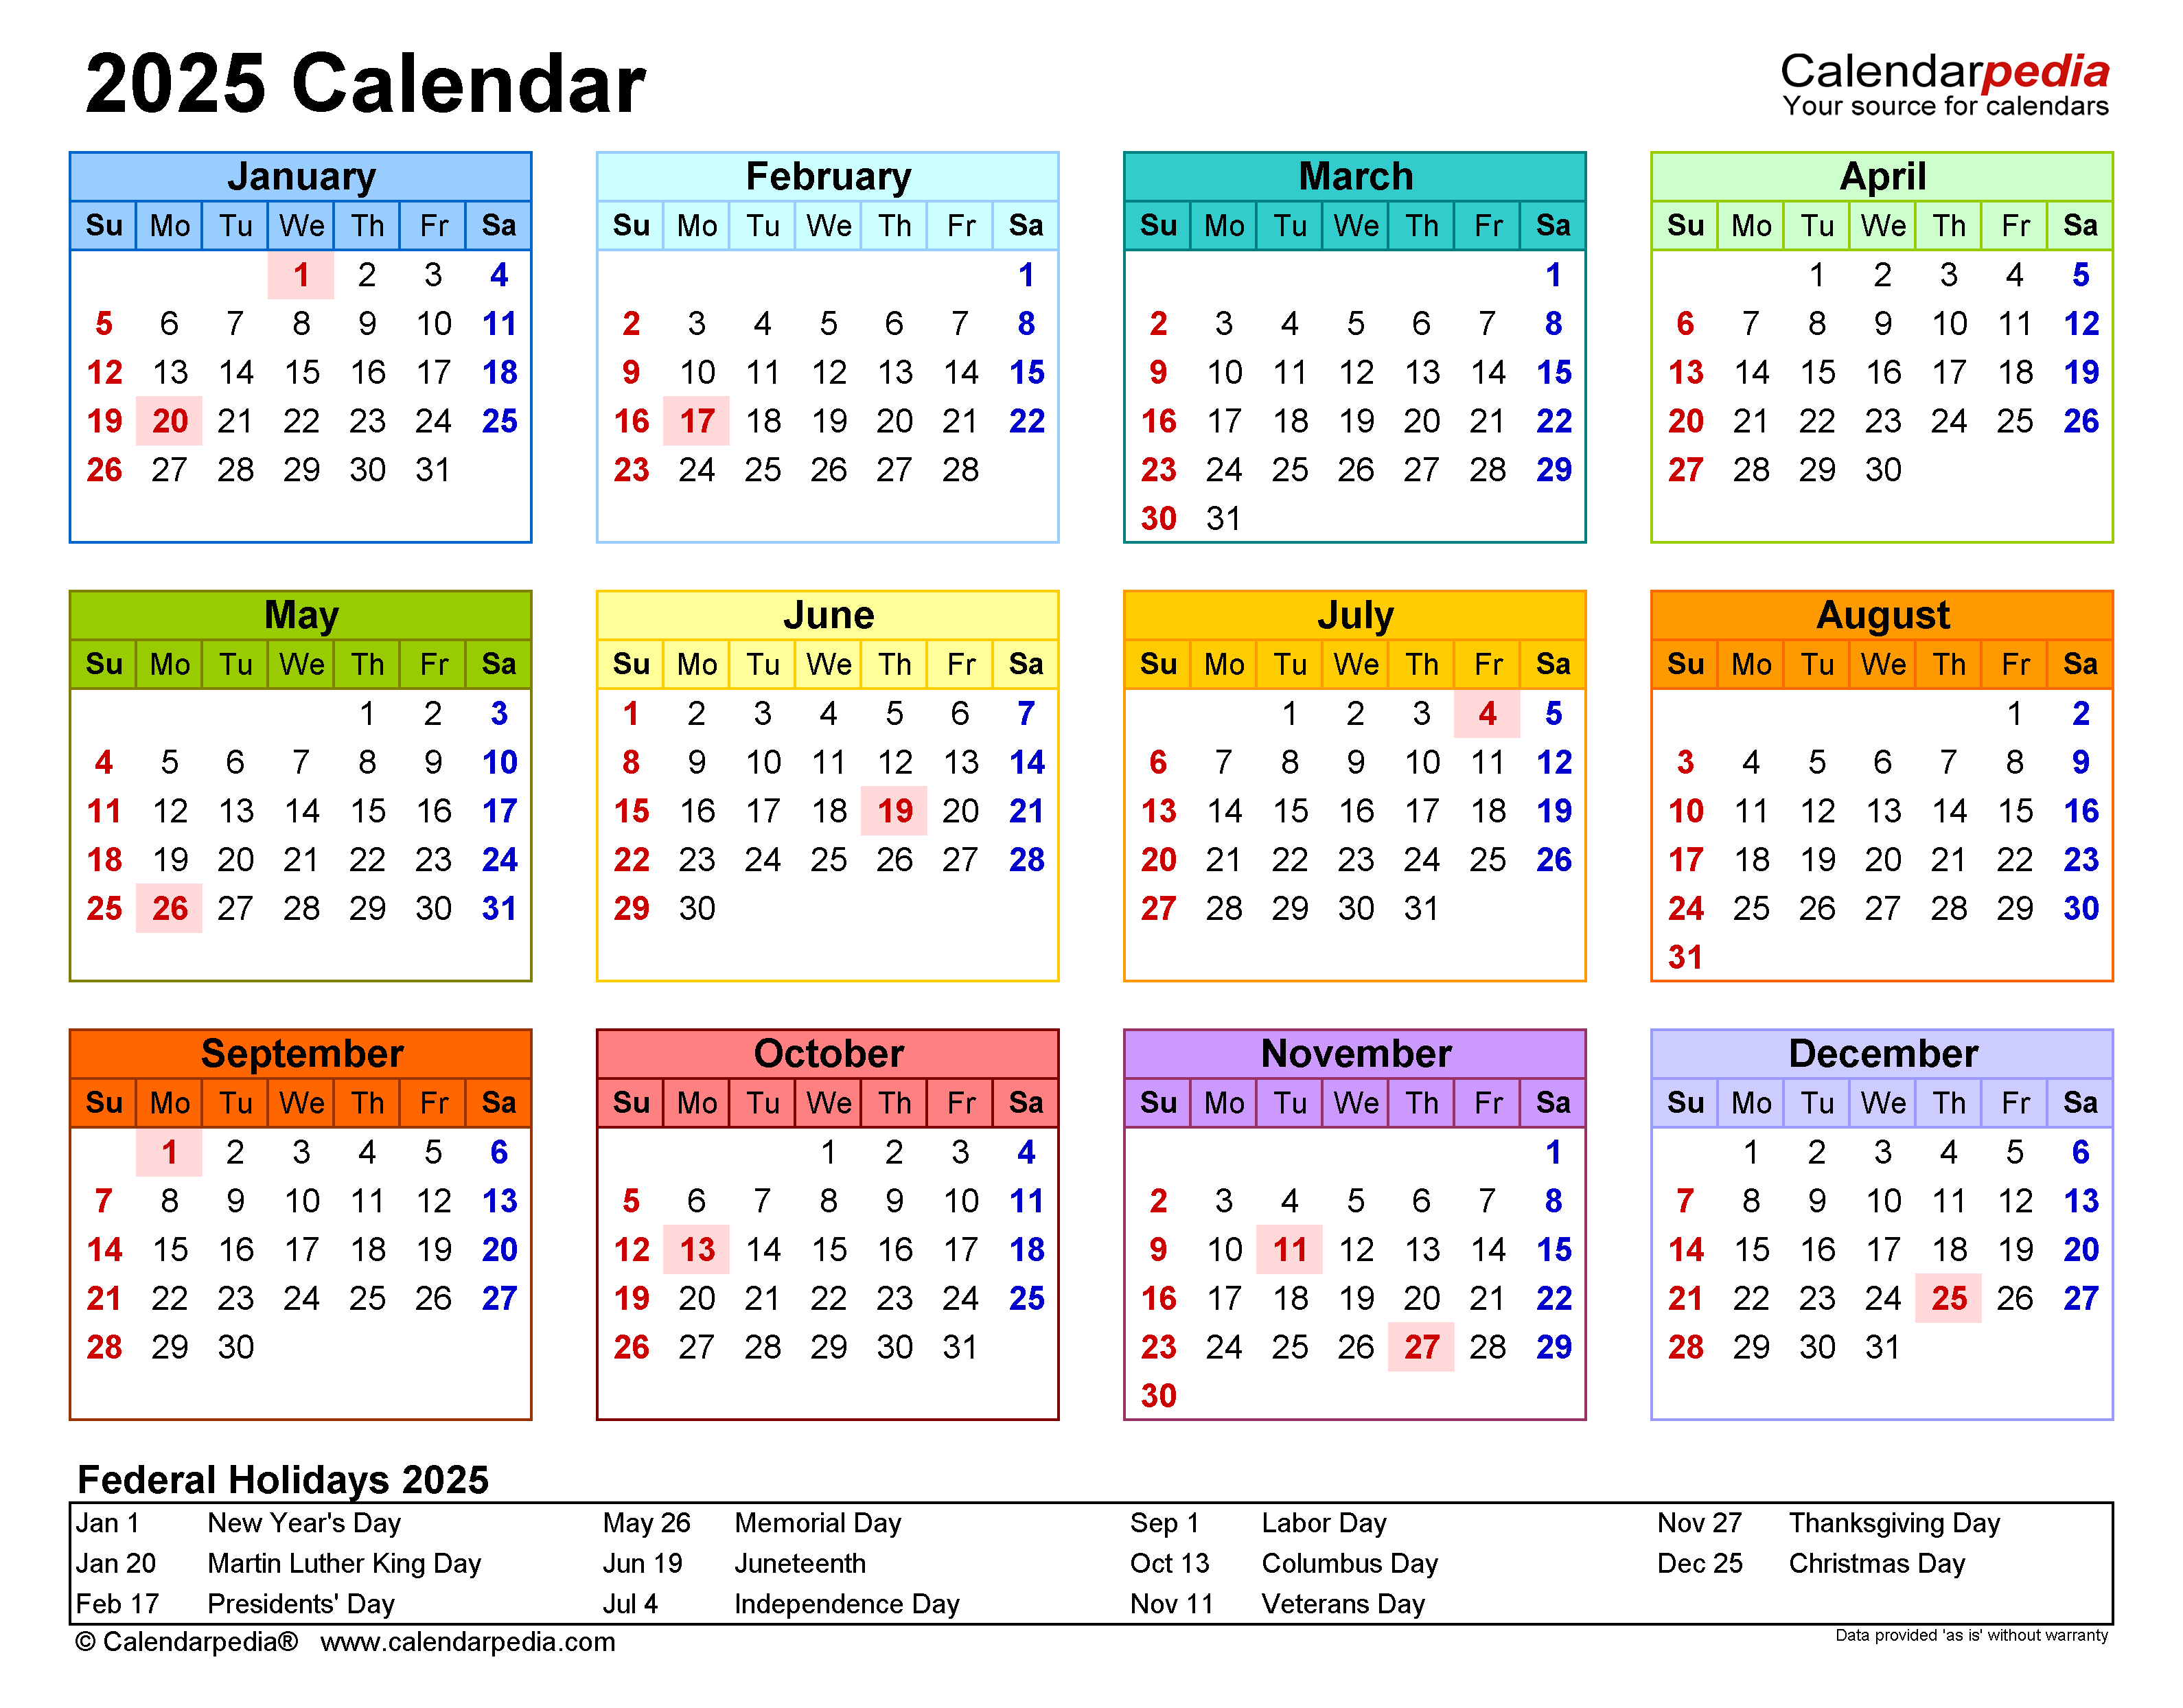
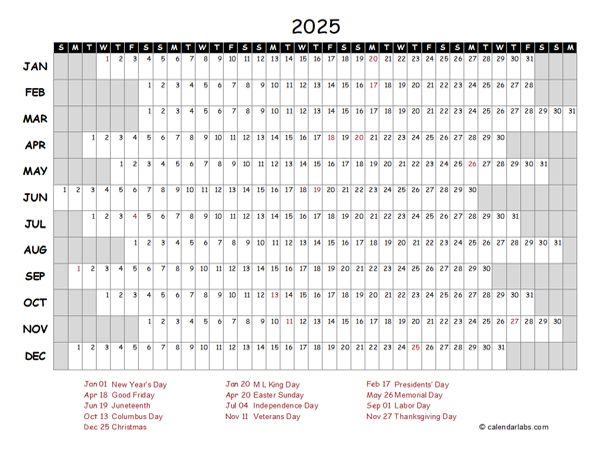
- 2025 Calendar Dates With Holidays
- Calendar 2025 July Template: A Comprehensive Guide
- New Zealand Public Holidays 2025 Calendar
- June And July 2025 Calendar
- 2025 Calendar UK: A Comprehensive Overview
Introduction
In this auspicious occasion, we are delighted to delve into the intriguing topic related to 2025 Calendar on Excel: A Comprehensive Guide. Let’s weave interesting information and offer fresh perspectives to the readers.
Table of Content
Video about 2025 Calendar on Excel: A Comprehensive Guide
2025 Calendar on Excel: A Comprehensive Guide
Introduction
Microsoft Excel is a versatile spreadsheet software that offers a wide range of features for managing and organizing data. One of the most useful features is the ability to create calendars, which can be customized to meet specific needs. This article will provide a comprehensive guide on how to create a 2025 calendar on Excel, including detailed instructions and helpful tips.
Step 1: Open a New Excel Workbook
To begin, open a new Excel workbook by clicking on the "File" tab and selecting "New." A blank workbook will appear on your screen.
Step 2: Create a Table for the Calendar
The first step in creating a calendar is to create a table that will serve as the framework. To do this, click on the "Insert" tab and select "Table." A dialog box will appear, prompting you to select the range of cells that you want to include in the table.
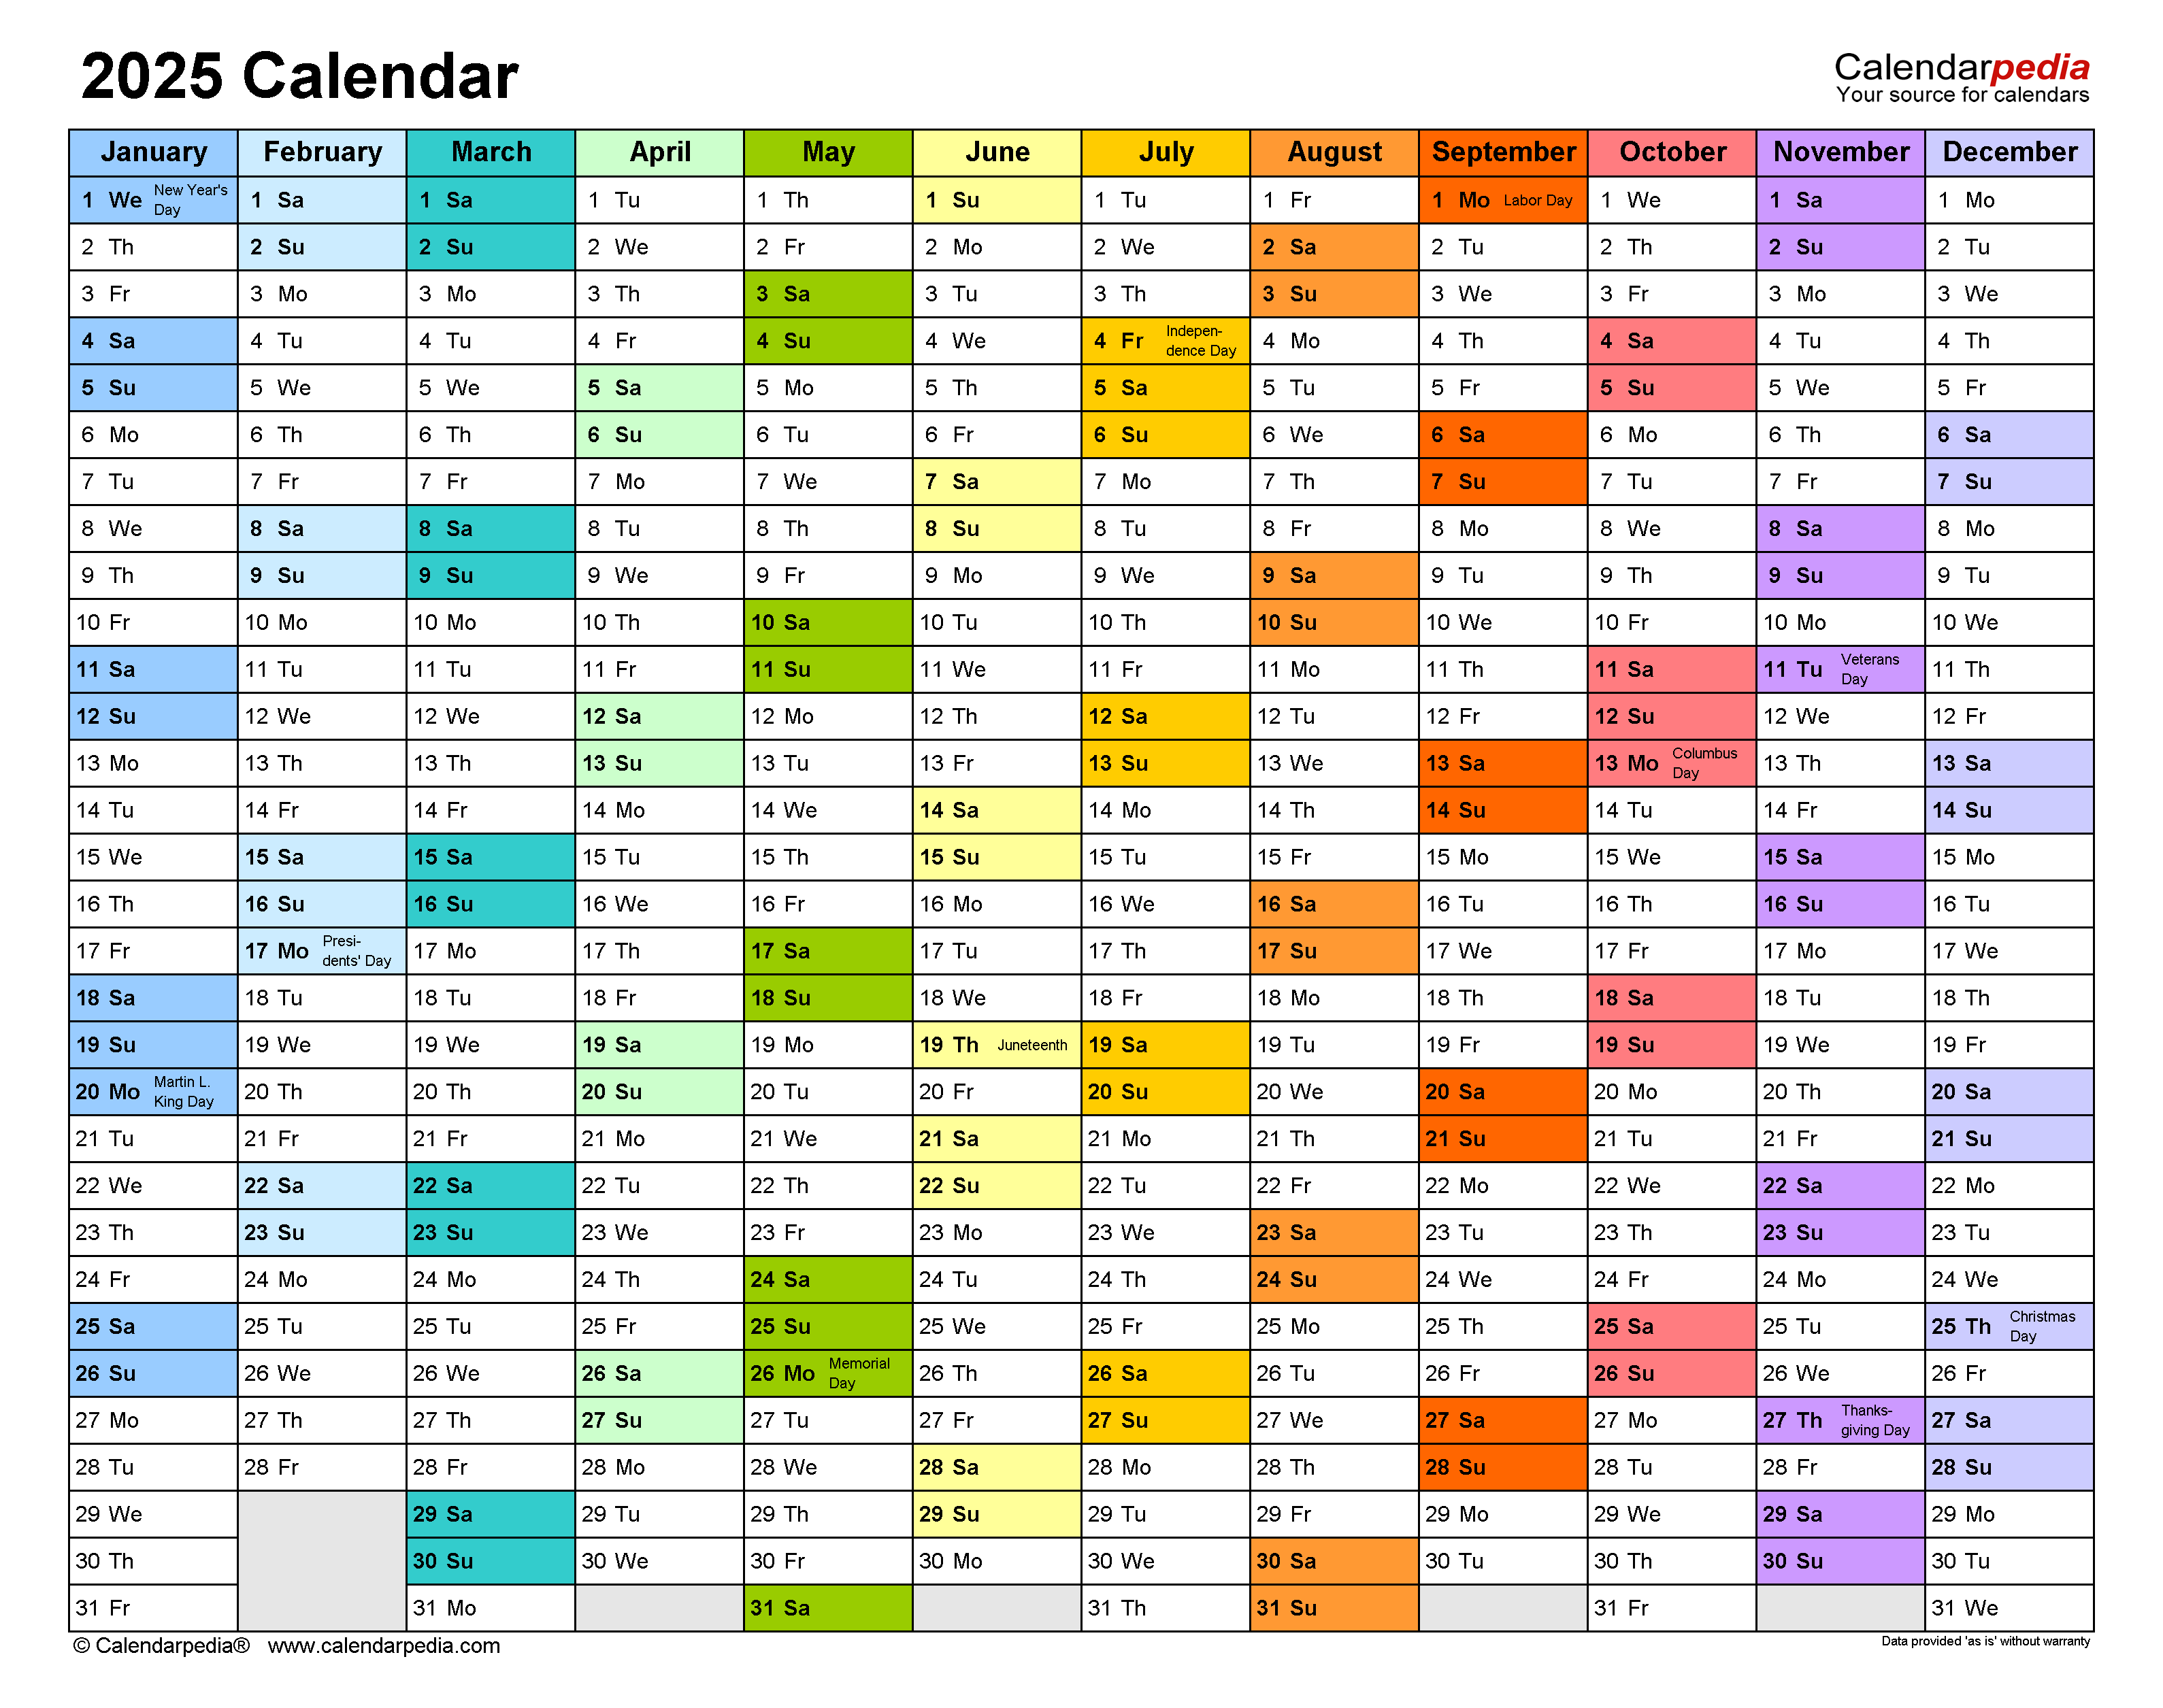
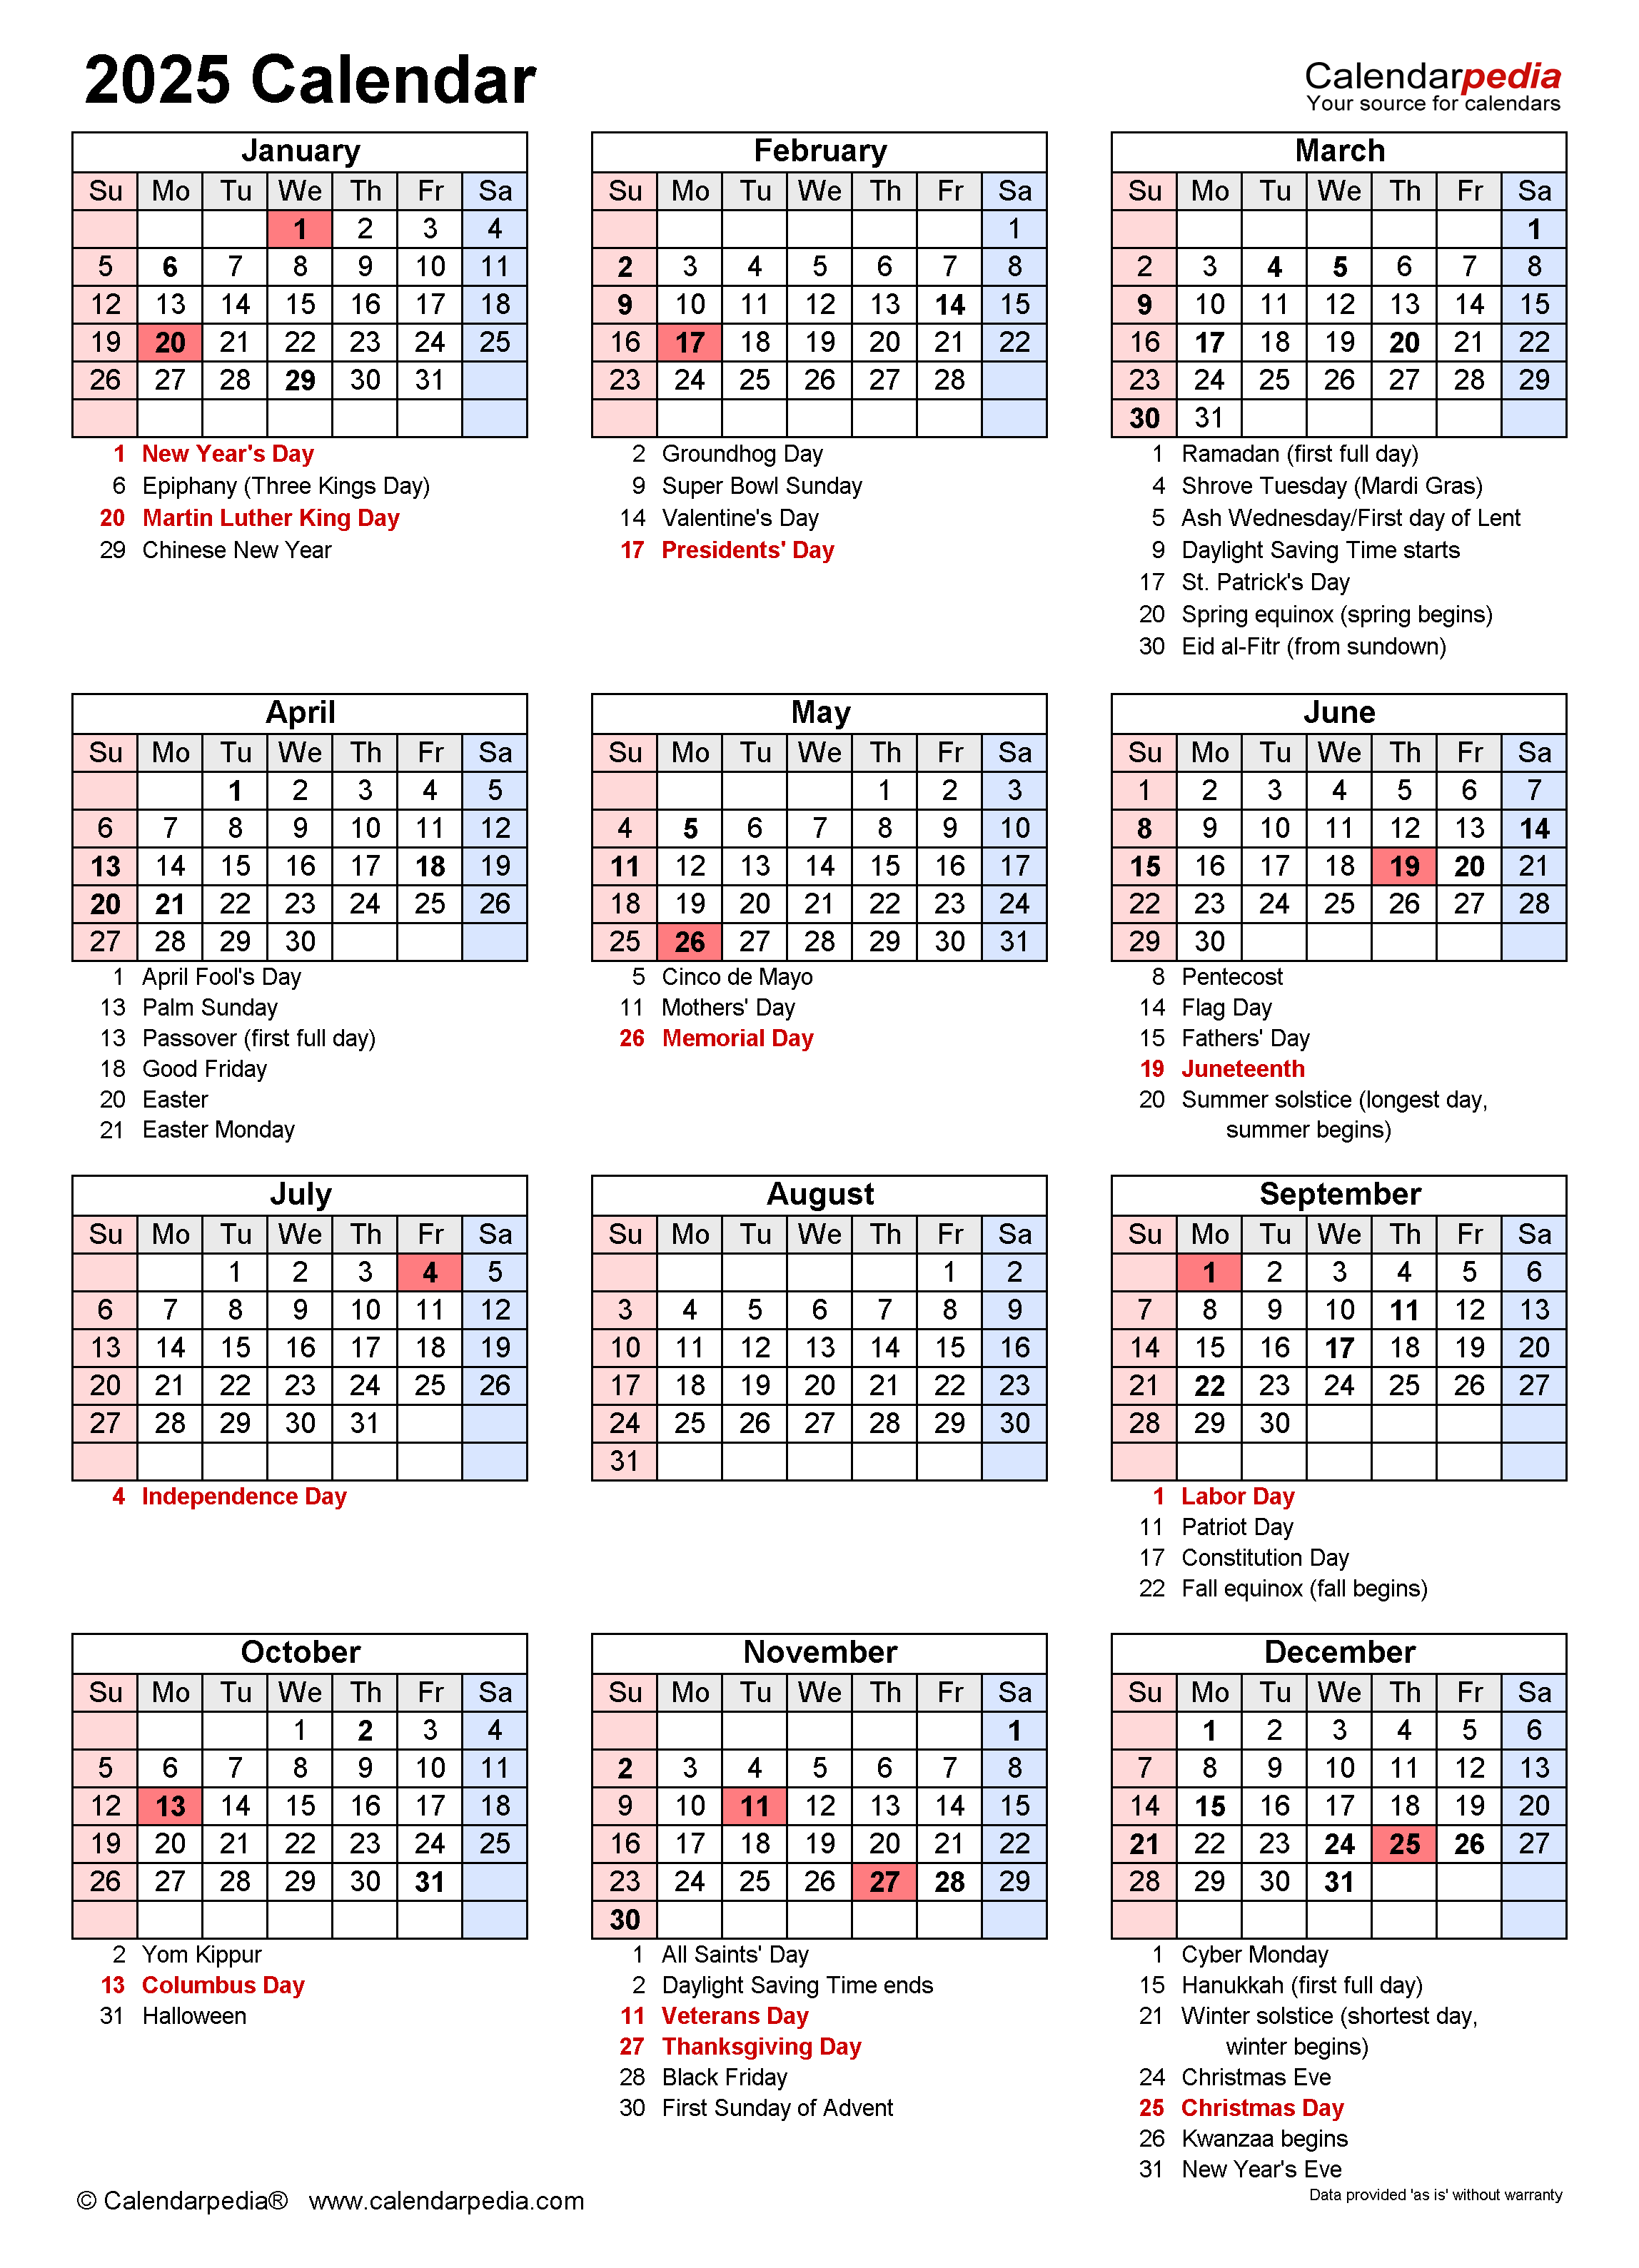
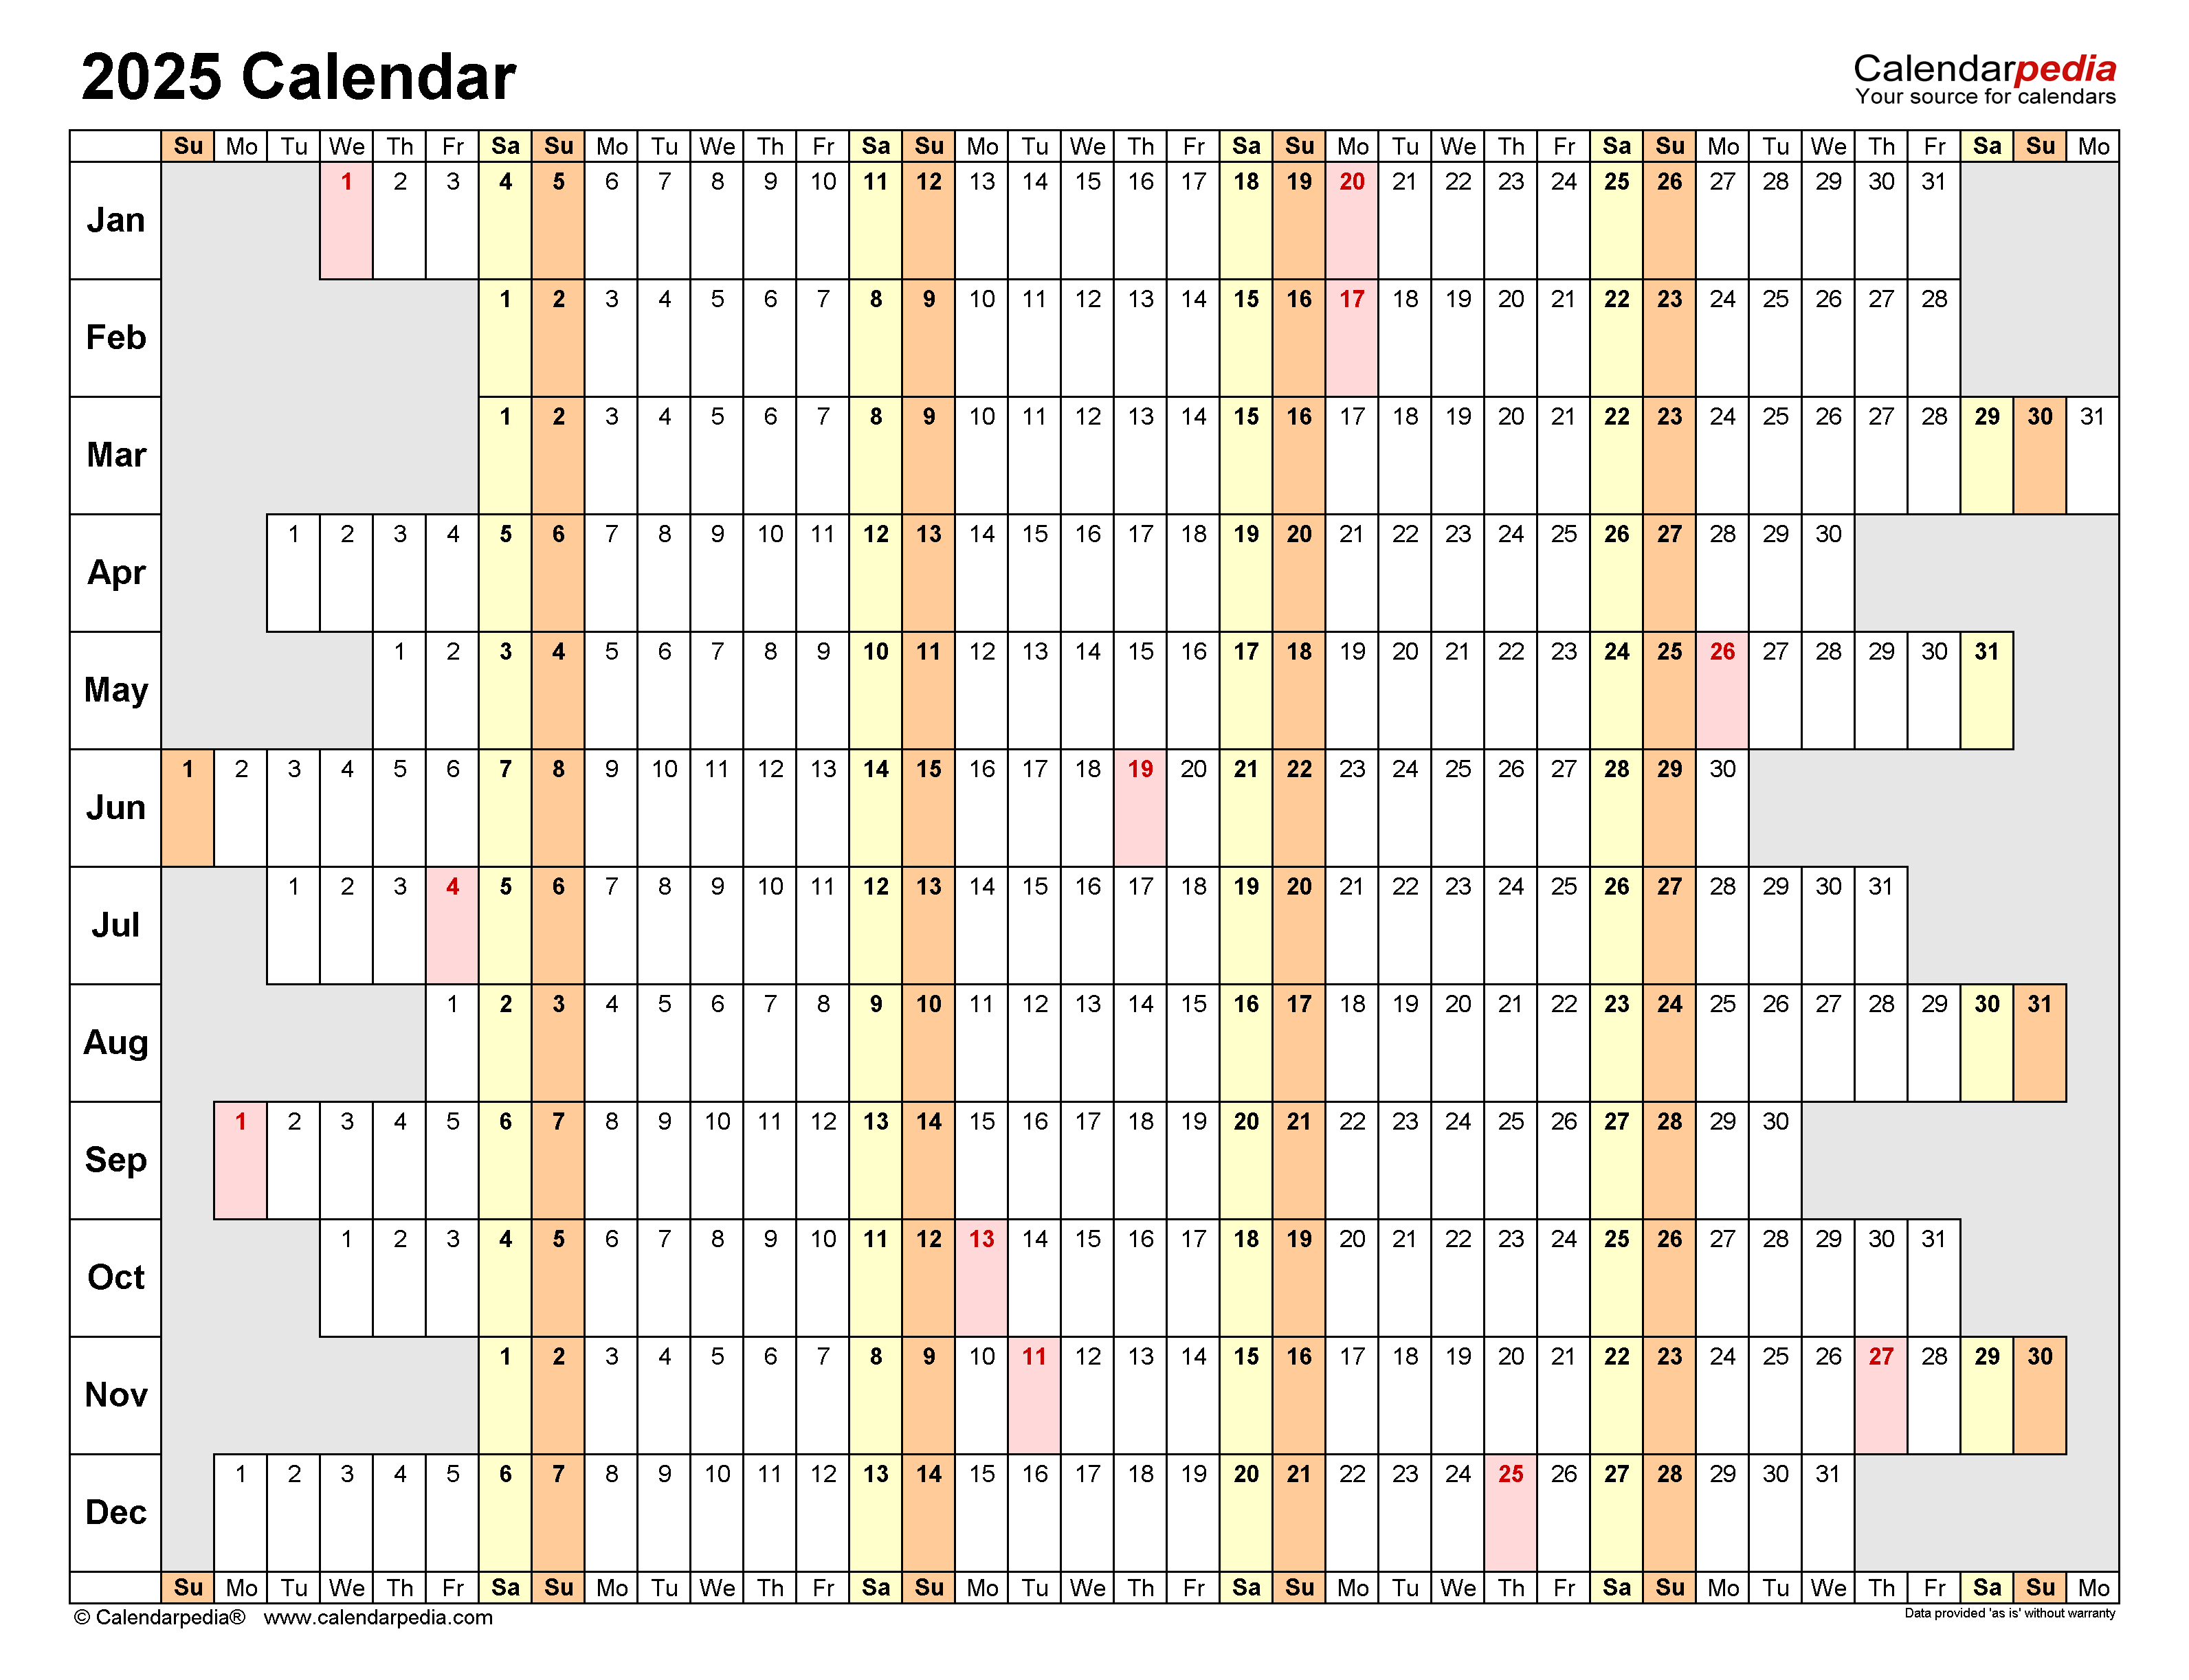
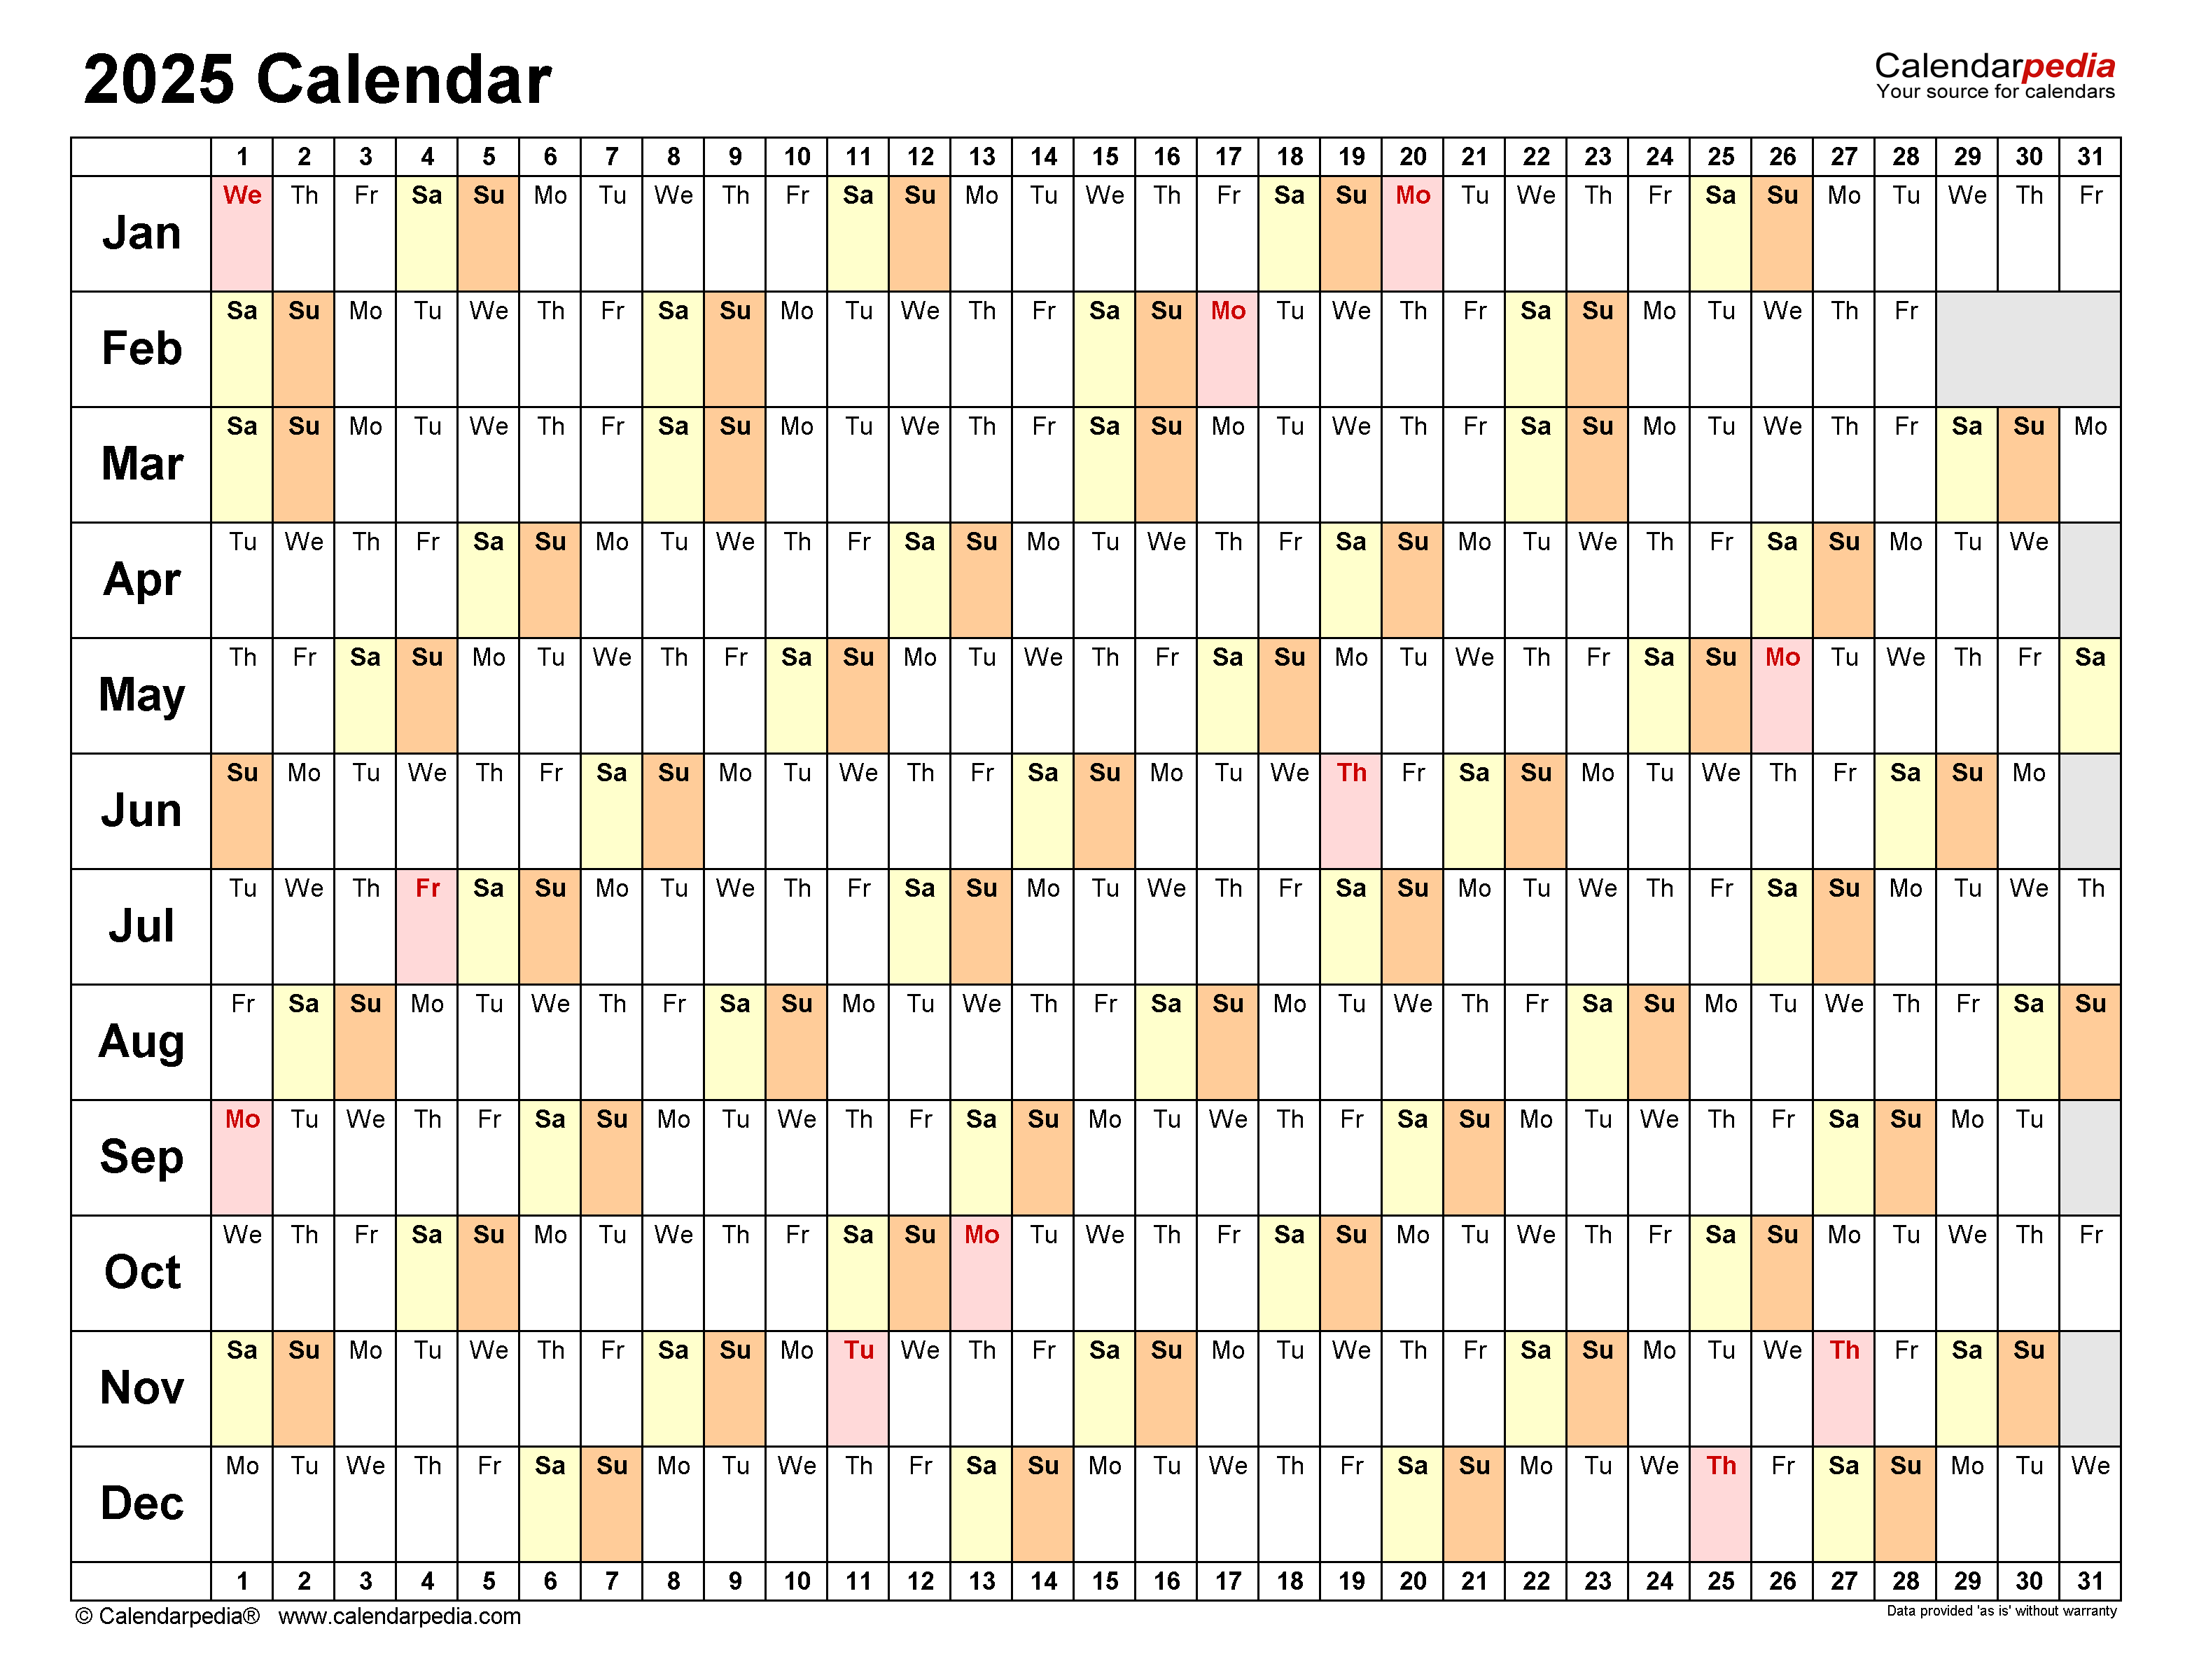
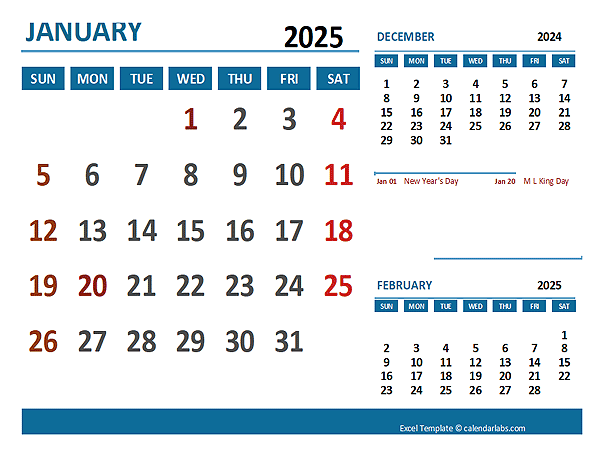
For a 2025 calendar, you will need to create a table with 12 rows (one for each month) and 35 columns (one for each day of the week, plus extra columns for the month name and year). To select this range, click on cell A1 and drag the mouse to cell AZ12.
Step 3: Format the Table
Once the table has been created, you can format it to make it more visually appealing and easier to read. To do this, select the table and click on the "Design" tab. Here, you can choose from a variety of table styles and apply them to your calendar.
You can also adjust the font, font size, and alignment of the text in the table. To do this, select the cells that you want to format and click on the "Home" tab. Here, you can use the font and alignment options to customize the appearance of the text.
Step 4: Add the Month Names
The next step is to add the month names to the calendar. To do this, select the first row of the table (cells A1:AZ1) and enter the month names into the cells. You can use the following abbreviations:
- January (Jan)
- February (Feb)
- March (Mar)
- April (Apr)
- May (May)
- June (Jun)
- July (Jul)
- August (Aug)
- September (Sep)
- October (Oct)
- November (Nov)
- December (Dec)
Step 5: Add the Year
Next, add the year to the calendar. To do this, select cell A1 (the top left cell of the table) and enter the year 2025. You can also format the cell to make the year stand out, such as by changing the font color or size.
Step 6: Calculate the Day of the Week
To complete the calendar, you need to calculate the day of the week for each date. To do this, you will use the WEEKDAY function. The WEEKDAY function takes a date as its argument and returns a number representing the day of the week, with 1 being Sunday and 7 being Saturday.
To calculate the day of the week for a given date, enter the following formula into the cell that corresponds to that date:
=WEEKDAY(A2)Replace A2 with the cell reference of the date that you want to calculate the day of the week for.
Step 7: Format the Calendar
Once you have calculated the day of the week for each date, you can format the calendar to make it more visually appealing. For example, you can shade the weekends a different color or add borders around the cells.
To shade the weekends, select the cells that correspond to Saturdays and Sundays (e.g., cells B2:C12, F2:G12, etc.) and click on the "Home" tab. In the "Font" group, click on the "Fill Color" button and select a color.
To add borders around the cells, select the cells that you want to border (e.g., the entire table) and click on the "Home" tab. In the "Font" group, click on the "Borders" button and select the border style that you want.
Step 8: Save the Calendar
Once you have finished creating the calendar, save it by clicking on the "File" tab and selecting "Save As." In the "Save As" dialog box, enter a name for the file and select a location to save it.
Tips for Using the 2025 Calendar on Excel
Here are a few tips for using the 2025 calendar on Excel:
- Use the calendar to track important dates, such as appointments, deadlines, and events.
- Color-code different types of events to make them easier to identify.
- Add notes to cells to provide additional information about events.
- Use the calendar as a template to create calendars for other years.
Conclusion
Creating a 2025 calendar on Excel is a simple and straightforward process. By following the steps outlined in this article, you can create a customized calendar that meets your specific needs. Whether you need to track appointments, deadlines, or events, the 2025 calendar on Excel is a valuable tool that can help you stay organized and on top of your schedule.

Closure
Thus, we hope this article has provided valuable insights into 2025 Calendar on Excel: A Comprehensive Guide. We hope you find this article informative and beneficial. See you in our next article!